4. How to Check and Apply for Eligibility
Step 1: Determine Your Qualification Criteria
Begin by assessing your financial status or participation in government aid programs. Refer to the federal poverty guidelines or check the list of qualifying programs to confirm eligibility.
Step 2: Find Participating Providers
Research providers in your area that participate in the Lifeline or ACP programs. Major providers such as Assurance Wireless, Safelink Wireless, and Access Wireless operate nationally, while others cater to specific states or regions.
Step 3: Gather Required Documentation
Collect all necessary documents to verify your eligibility. Examples include:
- Pay stubs or tax returns for income verification.
- Benefit letters for SNAP, Medicaid, or SSI participants.
- Tribal assistance program enrollment proof for residents of tribal lands.
Step 4: Submit an Application
Visit the website of your chosen provider or the Lifeline National Verifier portal to complete your application. This process typically involves uploading your documents and filling out an online form.
Step 5: Await Approval
Approval times vary, but most applications are processed within 7–10 business days. Once approved, you will receive instructions for activating your phone and service.
Common Application Challenges
Be mindful of potential issues such as incomplete documentation or expired program enrollment. Ensuring accuracy and up-to-date information can streamline the approval process.

Next Page
You May Also Like
-

How to Apply for a Free Smartphone and Monthly Service
Obtaining a free smartphone and monthly service involves several crucial steps: verifying your eligibility, gathering documentation, choosing the right provider, completing the application, waiting for approval, and finally, activating your device.
-

Eligibility Criteria for Free Cell Phones and Tablets: What You Need to Know
In the contemporary landscape, where nearly every facet of life is intertwined with technology, cell phones and tablets have evolved significantly from being mere luxury items to essential tools that empower everyday living. These devices play a pivotal role not only in facilitating seamless communication but also in granting access to a plethora of critical services that are integral to personal and professional lives. For many individuals, particularly those from low-income backgrounds, the ability to procure these devices poses a considerable financial challenge.
-

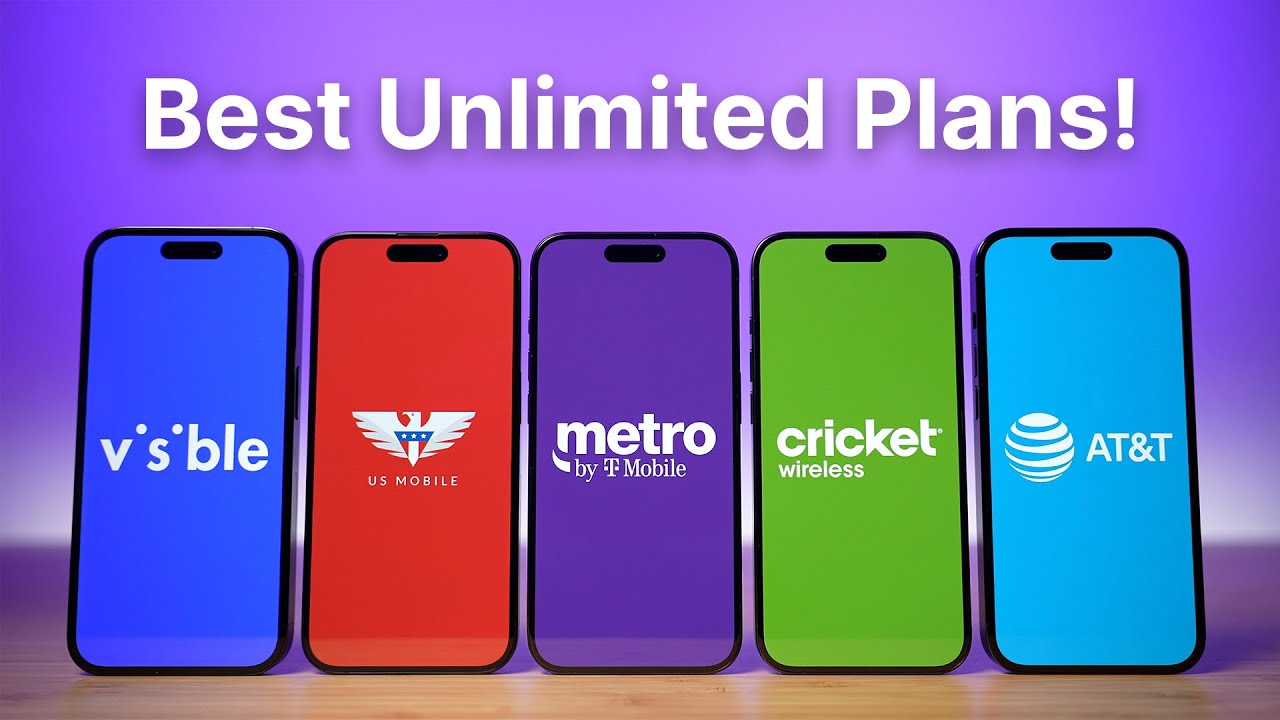
Comparing Unlimited Data Mobile Plans in the U.S.
In the U.S., unlimited data mobile plans have become a popular choice for many users, offering unrestricted data usage to meet the high demand for internet connectivity in modern life. Below are some of the major unlimited data plans offered by various carriers to help you find the best option for your needs.
Popular Blog
-

Affordable Alternatives When You Don’t Qualify for Free Government Phones in the U.S.
Don’t qualify for a free government phone like Lifeline? This article explores affordable options for staying connected. Discover prepaid plans, discounted deals, the used phone market, and how to leverage free Wi-Fi and community resources to maintain essential communication on a budget.
-

How to Get a Free Tablet from Government Programs
In this article, we’ll explore these programs, the types of tablets you can get, and the carriers currently participating in these initiatives.
-

How to Qualify for a Free Smartphone from Your Local Provider
Now, let us take a closer look at a structured approach to identifying, applying for, and obtaining a free smartphone through these programs.


